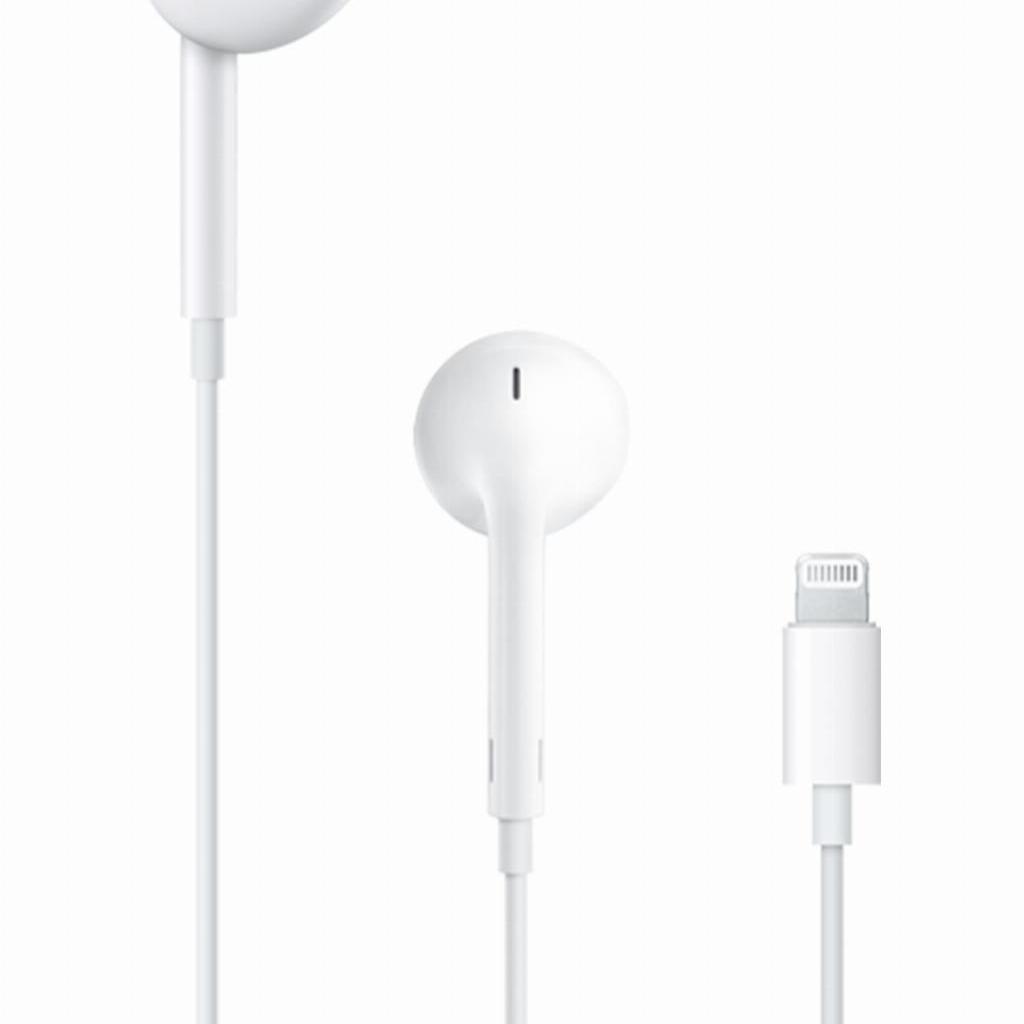
AirPods sound dull: this is the cause
Your AirPods sound dull. The volume is at max, but you can barely hear anything. Earwax has accumulated in the grilles. Most people just throw their AirPods in their pocket without thinking about it. But here's the thing: the problem isn't just in the visible dirt. The real culprit hides in microscopic holes where the sound needs to pass through. One wrong cleaning attempt and you permanently damage the speakers. Yet, nine out of ten users make this mistake. With the right approach - without water, without aggressive agents - you can restore the original sound quality. What's more: well-maintained accessories often perform better than brand-new ones that have been neglected for months. The secret lies in the technique, not in expensive cleaning products.
Useful links
Why regular maintenance is essential
Most users underestimate the importance of regular maintenance for their earbuds. Dirt and earwax accumulate in the small holes and grilles, directly affecting sound quality. After several months of intensive use, volume can decrease by up to 40% due to blockages. This problem occurs with all types of earbuds, but especially with compact designs like AirPods Pro and regular models.
The good news: with the right approach, you can fully restore the original sound quality. Moreover, you prevent bacterial growth that can cause ear infections. Studies show that earbuds contain on average 2,700 times more bacteria than a kitchen cutting board.
Gathering the right materials
Before you start cleaning, gather these essential items:
- Microfiber cloth (dry and clean)
- Soft toothbrush or special electronics brush
- Isopropyl alcohol (70% concentration)
- Cotton swabs
- Toothpicks or wooden skewers
- Optionally: blue tack (blu-tack) for stubborn dirt
Absolutely avoid these materials:
- Water or soap solutions
- Scouring pads or hard brushes
- Bleach or other aggressive cleaning agents
- Compressed air from aerosol cans (too powerful for delicate speakers)
Step-by-step cleaning method
Step 1: Preparation
Remove the earbuds from the charging case and turn them off completely. Wait at least 10 minutes for any heat to dissipate. This prevents condensation during cleaning.
Step 2: Coarse cleaning
Use the dry microfiber cloth to remove visible dirt from the outside. Work systematically: first the stem, then the main body. For models with silicone ear tips, remove them first and clean them separately with lukewarm water.
Step 3: Deep cleaning grilles
Take the soft toothbrush and gently brush over the speaker grilles. Use short, light strokes from the inside out. This pushes the dirt away instead of deeper into the speaker. For stubborn build-ups, use a toothpick, but never apply pressure.
Step 4: Disinfection
Lightly moisten a cotton swab with isopropyl alcohol. Wipe the smooth surfaces with it. Note: the swab should be damp, not wet. Excess liquid can cause permanent damage to the internal electronics.
Step 5: Treating the charging case
The case often collects more dirt than the earbuds themselves. Use a dry cloth for the exterior. For the interior, use a lightly dampened cotton swab around the charging contacts. These contact points must be perfectly clean for optimal charging.
Frequency and prevention
The ideal cleaning frequency depends on several factors:
- Daily use (more than 4 hours): weekly maintenance
- Regular use (2-4 hours per day): bi-weekly
- Occasional use: monthly
- Sports use: after every intensive workout
Preventative measures significantly extend their lifespan. Always store the device in its supplied case, not loosely in pockets or bags. Avoid use while eating - food debris is the biggest culprit. Wash your hands before touching the earbuds, especially after exercise.
Common mistakes
Three mistakes are most common:
Mistake 1: Using too much liquid
Even water-resistant models are not resistant to direct liquid exposure in the speaker openings. A single drop can permanently damage the diaphragm.
Mistake 2: Incorrect brushing direction
Brushing from outside to inside pushes dirt deeper into the speaker. This causes permanent blockage that can only be resolved professionally.
Mistake 3: Working impatiently
Quickly cleaning between two appointments is counterproductive. Take at least 15 minutes for thorough cleaning.
When to seek professional help
Some problems you cannot solve yourself. Seek professional help if:
- Persistent reduced volume despite thorough cleaning
- Crackling or distorted sounds
- Charging problems not resolved by cleaning contact points
- Visible damage to grilles or casing
Professional cleaning costs on average 25-40 euros, but can extend the lifespan by years. This is particularly interesting for more expensive models like the Pro versions.
Additional tips for optimal results
Use different cotton swabs for the left and right earbuds to prevent cross-contamination. After each cleaning, test with different music genres - classical music reveals blockages fastest due to its wide frequency range.
Store your cleaning kit separately from other household items. A small toiletry bag works perfectly as a dedicated maintenance kit. Replace brushes and cloths regularly; dirty cleaning materials cause more problems than they solve.
Consider purchasing special cleaning gel (often called Blu-tack). This sticky material removes microscopic dirt from inaccessible corners without using liquid. Simply roll it over the grilles, and the dirt will stick to it.
Maintenance is the key to long-lasting quality
Well-maintained earbuds perform optimally for years. The secret is not in expensive cleaning products, but in the right technique and regularity. With a soft brush, some isopropyl alcohol, and especially patience, you can fully restore the original sound quality. Prevent problems by always storing your AirPods in their case and cleaning them weekly. This way, you can enjoy clear sound longer without unnecessarily purchasing new accessories. Fifteen minutes of maintenance per week saves you hundreds of euros in replacements.